Ford Ecosport: Interior Trim and Ornamentation / Removal and Installation - Loadspace Trim Panel
Ford Ecosport 2014-2026 Service and Repair Manual / Body and Paint / Interior Trim and Ornamentation / Removal and Installation - Loadspace Trim Panel
Removal
NOTE: RH shown, LH similar.
NOTE: Removal steps in this procedure may contain installation details.
-
Remove the D-pillar trim panel.
Refer to: D-Pillar Trim Panel (501-05 Interior Trim and Ornamentation, Removal and Installation).
-
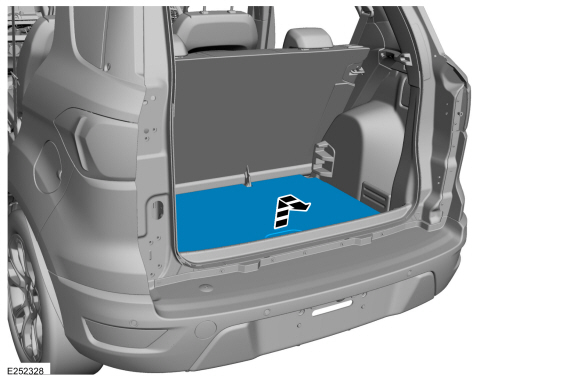
Remove the luggage compartment floor cover.
 |
-
Position the liftgate weatherstrip aside.
 |
-
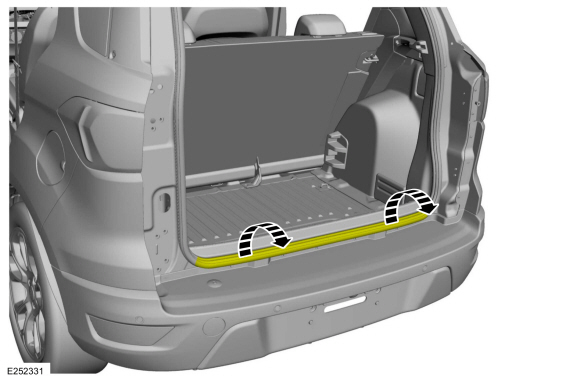
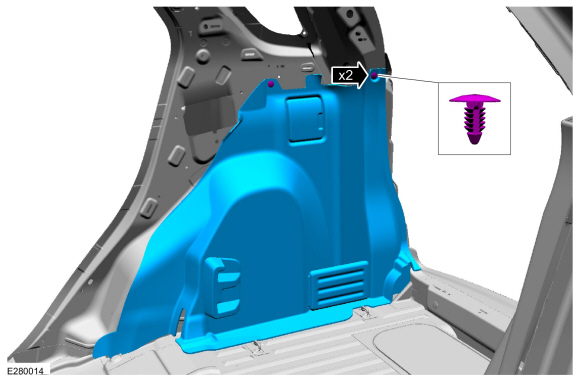
Remove the load compartment scuff plate trim panel.
-
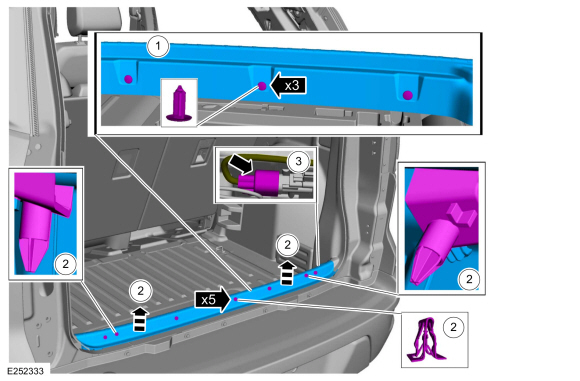
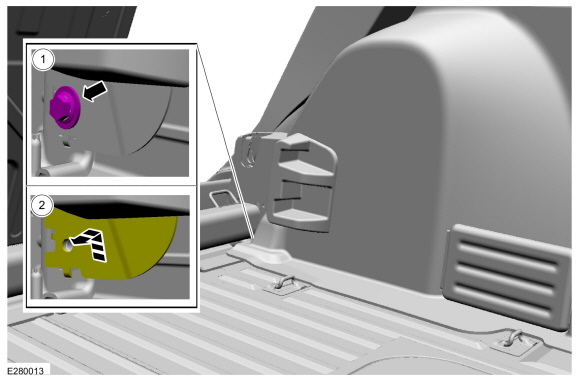
Remove the pin-type retainers.
-
Release the clips and the locator pins.
-
Disconnect the keyless entry rear antenna electrical connector.
-
Remove the pin-type retainers.
 |
-
Position the corner of the loadspace trim panel aside.
 |
-
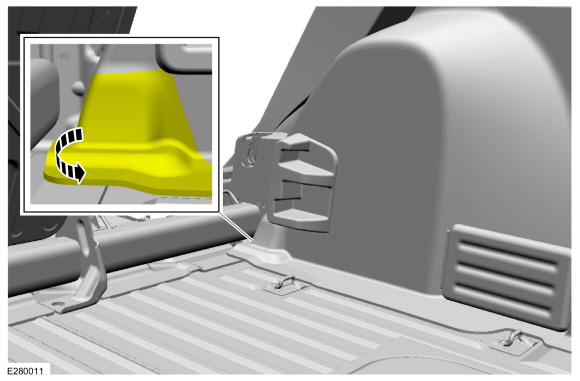
Disconnect the auxiliary floor support from the body.
- Remove the auxiliary floor support bolt. Torque: 35 lb.ft (47.5 Nm)
-
Lift upward and outward on the auxiliary floor support.
 |
-
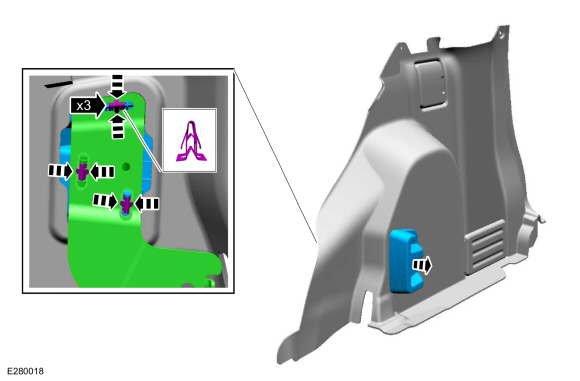
Remove the pin-type retainers and the loadspace trim panel.
 |
-
NOTE: This step is only necessary when installing a new component.
Release the clips and remove the auxiliary floor support cover and support.
 |
Installation
-
To install, reverse the removal procedure.
 Removal and Installation - Headliner - Lowering
Remove the following items:
On both sides.
Remove the A-pillar trim panel.
Refer to: A-Pillar Trim Panel (501-05 Interior Trim and Ornamentation, Removal and Installation)...
 Removal and Installation - Liftgate Trim Panel
Removal
Remove the liftgate trim panel screws.
Release the pin-type retainers and locator pins and remove the liftgate trim panel...
Other information:
Ford Ecosport 2014-2026 Service and Repair Manual: Removal and Installation - Cowl Panel Grille
Removal NOTE: Removal steps in this procedure may contain installation details. Remove the windshield wiper pivot arm. Refer to: Windshield Wiper Pivot Arm (501-16 Wipers and Washers, Removal and Installation). Remove the locking clips...
Ford Ecosport 2014-2026 Service and Repair Manual: Removal and Installation - Evaporator
Removal NOTE: Removal steps in this procedure may contain installation details. Remove the climate control housing. Refer to: Climate Control Housing (412-00 Climate Control System - General Information, Removal and Installation)...
Categories
- Manuals Home
- 2nd Gen Ford Ecosport Service Manual (2014 - 2026)
- Removal and Installation - Roof Rail
- Removal and Installation - Rear Bumper
- Body and Paint
- Diagnosis and Testing - Evaporative Emissions
- Removal and Installation - Starter Motor
Removal and Installation - Steering Column Shaft
Removal
NOTE: Removal steps in this procedure may contain installation details.
NOTICE: Do not allow the steering column to rotate while the steering column shaft is disconnected or damage to the steering column internal sensor may result.
NOTE: Use a steering wheel holding device (such as Hunter® 28-75-1 or equivalent)
Hold the steering wheel in the straight-ahead position.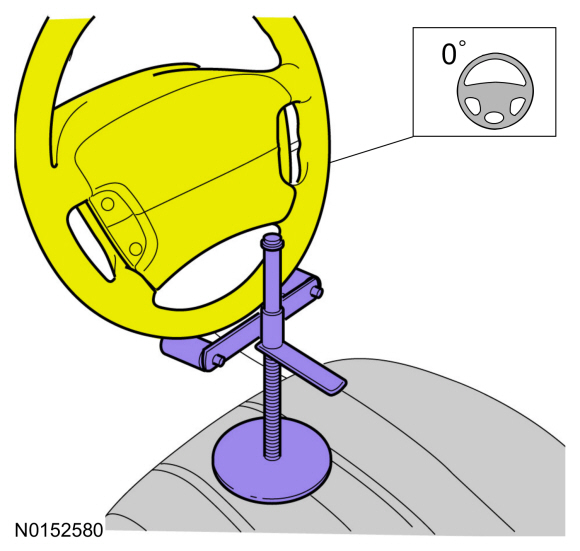
Copyright © 2026 www.foecosport2.com